
Installing Sectona Jump Host Component
The jump server is a hardened and monitored device that provides controlled access between two security zones. In case a person wants to access a resource located in different security zones, there needs to be a device or a connector that provides a secure link or a tunnel to access the resource. A Jump server can be used as a single audit point of traffic.
Sectona Privileged Access Management system supports session management over a Windows-based terminal server. This allows organizations to leverage session isolation capabilities and the security of jump servers. Once you have configured a Windows server to act as a terminal server, you are required to enable configuration via the installation of the component to support the integration with Sectona Web Access components and the terminal server.
Landing & Proxy Server settings in the system must be configured to use jump server settings to redirect user session requests to the jump server. This section describes the procedure for installing and configuring the system with Windows terminal server.
Before You Begin
Before you begin with the installation of the Sectona Jump Host component, ensure
You have valid Login details as Sectona administrative user.
You have local administrator privileges.
You have already configured Sectona Web Access
Installation Procedure
The setting of the Sectona Jump Host component requires setting up a web server and installing the Sectona Jump Host component.
Installing Remote Desktop Services Roles and Features
On the Jump Server, open the Server Manager window and click Add Roles and Features.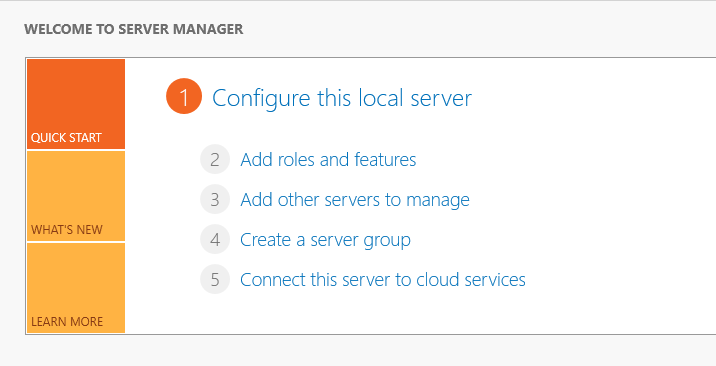
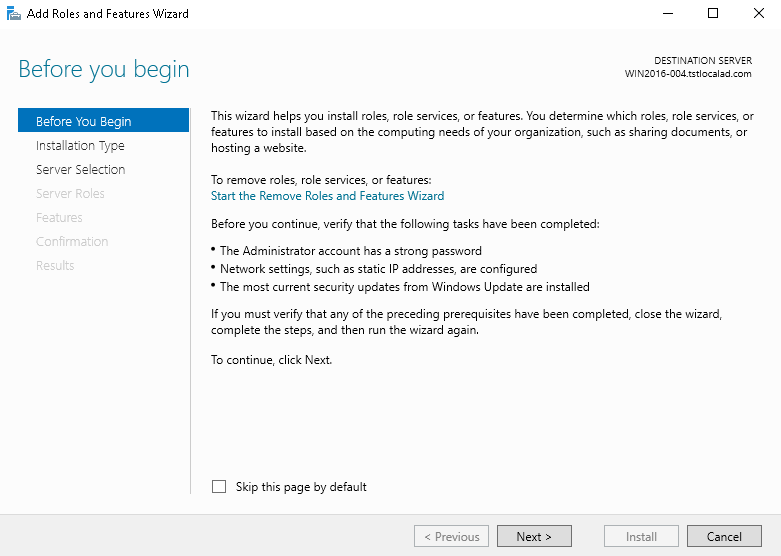
You will be redirected to the Before You Begin window. Click on Next to continue.
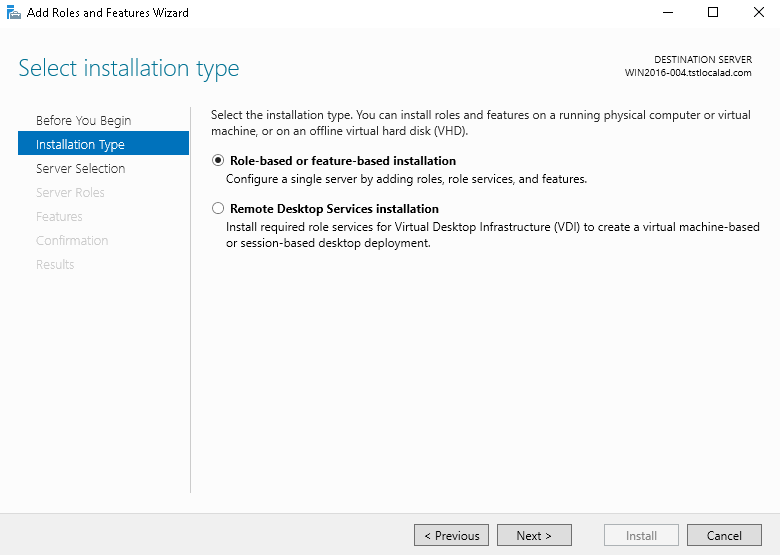
You will be directed to the Installation Type window. Select either a Role-based or feature-based installation option. Click on Next to continue.
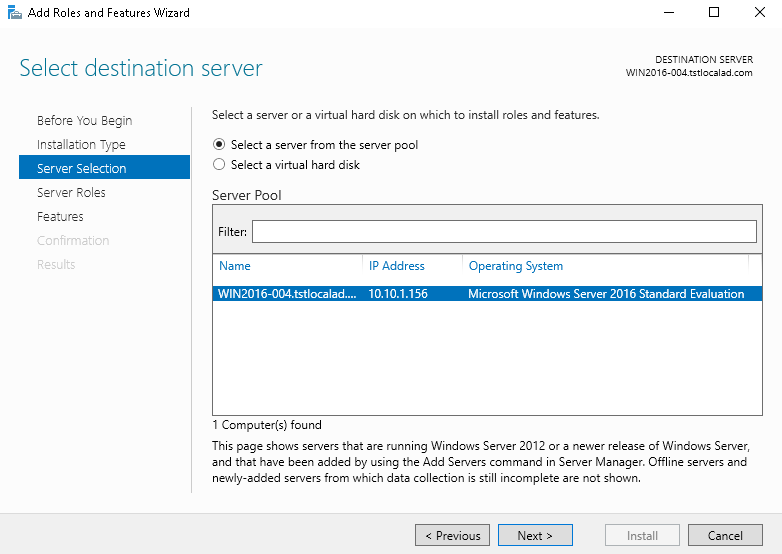
You will arrive at the Server Selection window. Select your preferred server and click on Next to continue.
You will find a window featuring various server roles. Click on Next to continue.
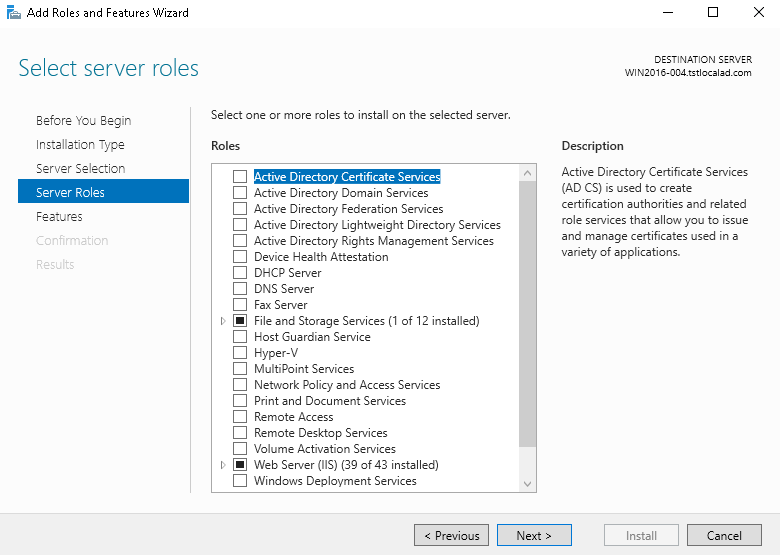
Select the following role(s) as described below:
Sr. No. | Role Name | Role Description |
|---|---|---|
1 | Remote Desktop Services | Remote Desktop Services enables users to access virtual desktops, session-based desktops, and RemoteApp programs. |
After selecting the role, navigate directly to the Role Services window. Select the role service named Remote Desktop Session Host.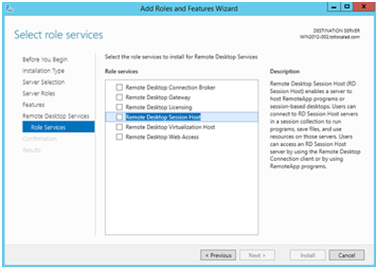
You will find a window listing various features. These will be installed after clicking on Add Features.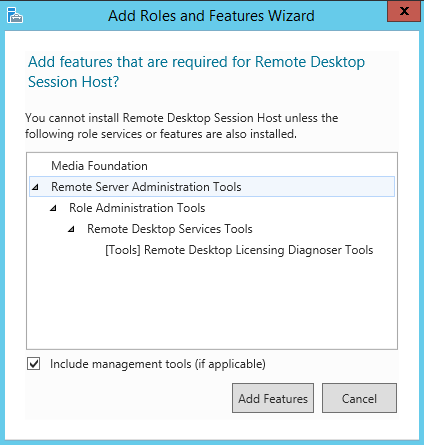
Sr. No. | Features Name | Features Description |
|---|---|---|
1 | Remote Server Administration Tools Role Administration Tools Remote Desktop Services Tools Remote Desktop Licensing Diagnoser Tools | Remote Server Administration Tools include snap-ins and command-line tools for remotely managing roles and features. |
2 | Telnet Client | Telnet Client uses the telnet protocol to connect to a remote telnet server and run applications on that server. |
You will be redirected to a confirmation window. Click on Install to install the roles and features. After successful installation, a Results window is displayed. Click on Close to exit. Next, you need to restart the server to finish the installation.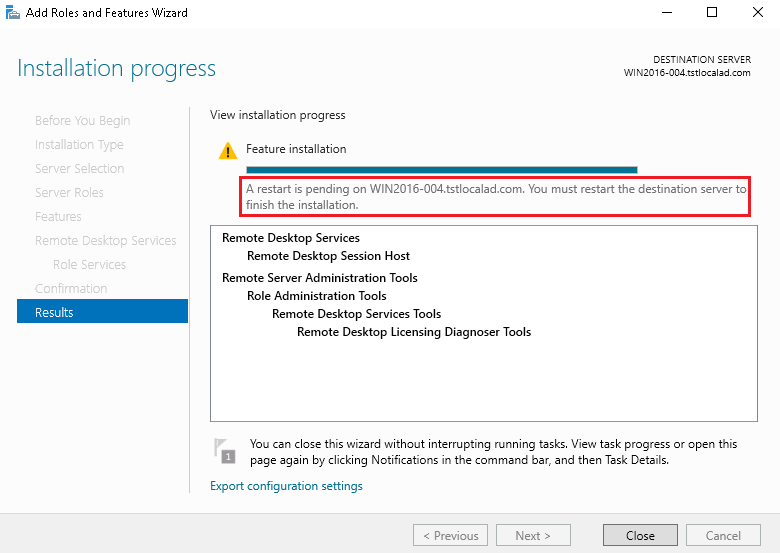
The Sectona Jump Host requires a dedicated server for the jump server services.
Installing the Sectona Vault Jump Host
Download the Sectona Vault Jump Host Installer from the download portal. Launch the Sectona Vault Jump Host setup application. Once you run the application, you will be greeted with a Welcome page. Click on Next to continue.

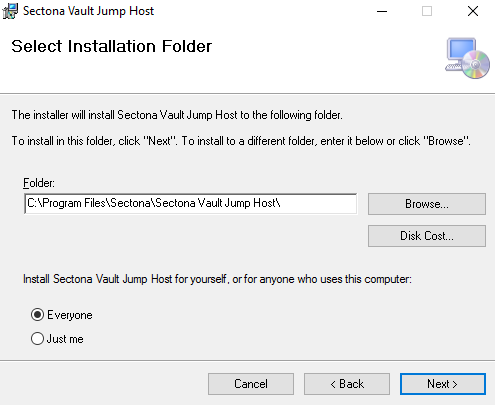
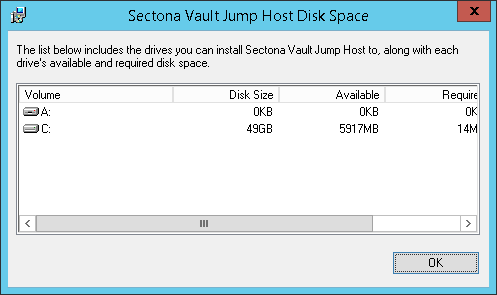
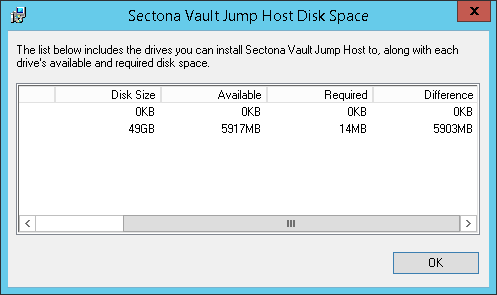
Now select the installation path for the application by clicking on the Browse button. To check the required disk space, click on the Disk Cost button. You can install the Sectona Vault Jump Host for yourself or anyone else who uses the computer by selecting Just me or Everyone. Click on Next to continue.
Click on Next to confirm the installation.
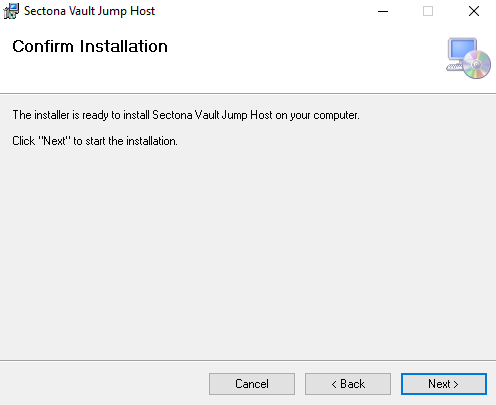
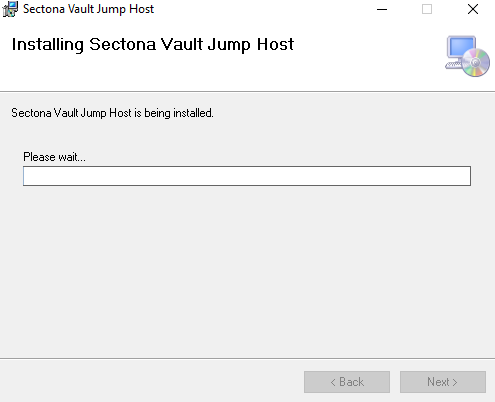
The installation process begins.
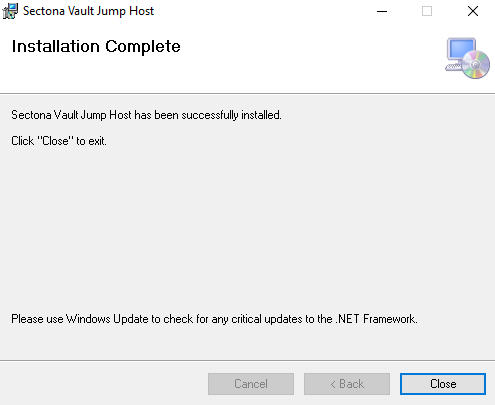
Once the installation is complete, click on Close to exit.
Setting Up the Sectona Client Environment
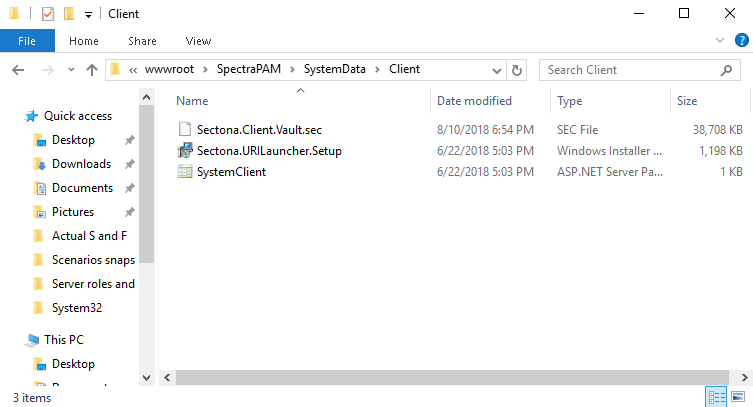
You need to transfer the Sectona.Client.Vault.sec file from the application server to the Jump Host server. The Sectona.Client.Vault.sec is required to run various applications on the Jump Host Server to achieve Single Sign-on and session isolation.
To transfer the files, go to the application server and navigate to C:\inetpub:\wwwroot\SectonaPAM\SystemData\Client.
Copy the Sectona.Client.Vault.sec in jump host server in the C:/ directory. Rename the file and add a .zip extension. Extract the zip file and name the folder as Sectona.Client.Vault.sec.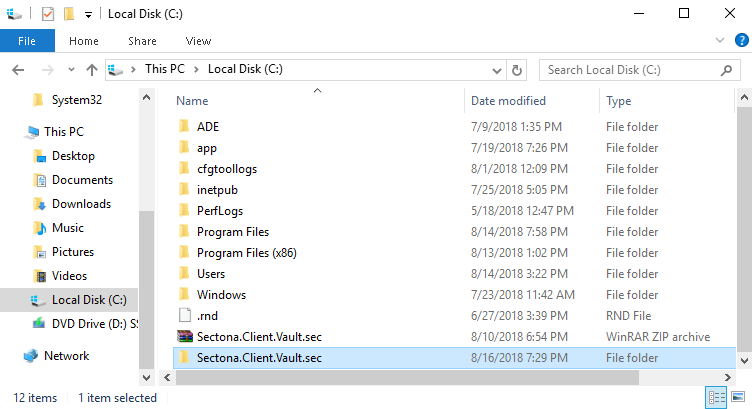
Now, add the Jump Host Server in the Sectona PAM System configuration.
Jump Host Service Configuration Parameters
Parameters | Default Value | Description |
|---|---|---|
ServerIP | localhost | Specifies the IP of the server |
TCPPort | 7389 | Specifies the port used for TCP connection (can be changed) |
The parameters mentioned above can be changed as per requirements. After the change in any configuration is done, ensure that you restart the Jump Host service to apply those changes.