
Installing Sectona Satellite Vault Component
Satellite vault is an external component built to offer alternate access to passwords secrets in case of failure, breakdown or inaccessibility of all vault instances in your environment. This provides a haven to access passwords and secrets from an alternate safe vault with special authentication technique.
Considering the nature of your system deployment, you may choose to deploy this on an isolated machine-accessible only at times of disaster or on a personal laptop. Depending upon deployment needs, you can install the Satellite Vault component on a Windows-based desktop or server-class machine.
It is important to provide users with an accessible link to access satellite vault. Consider limitation of DNS network during a break glass scenario. Ensure you can access satellite locally on the server or using a direct IP address as well.
This section covers
Before You Begin
Ensure you are using a supported operating system. Refer to support operating system list from the System Requirement section.
It is recommended to have a separate dedicated server-class machine for installing Satellite Vault.
Procedure for Sectona Satellite Vault
Download the Satellite Vault Installer. You will receive a copy of installation from Sectona Support team. Contact the support team for issues at http://support.sectona.com.
Run the installer. Launch the Satellite Vault installer using Windows Administrator Privileges. Click on Next to continue.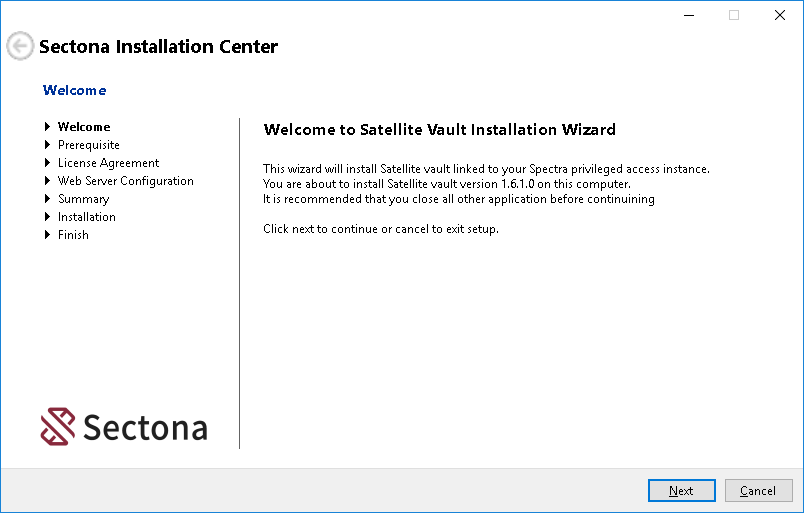
Validate prerequisites and install any missing components.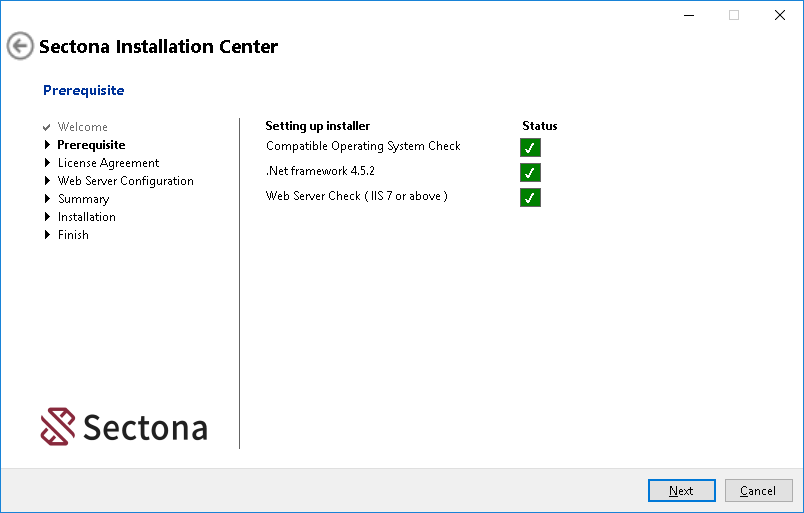
Review License Agreement page and click on the I accept button to accept the license agreement. Click on Next to continue.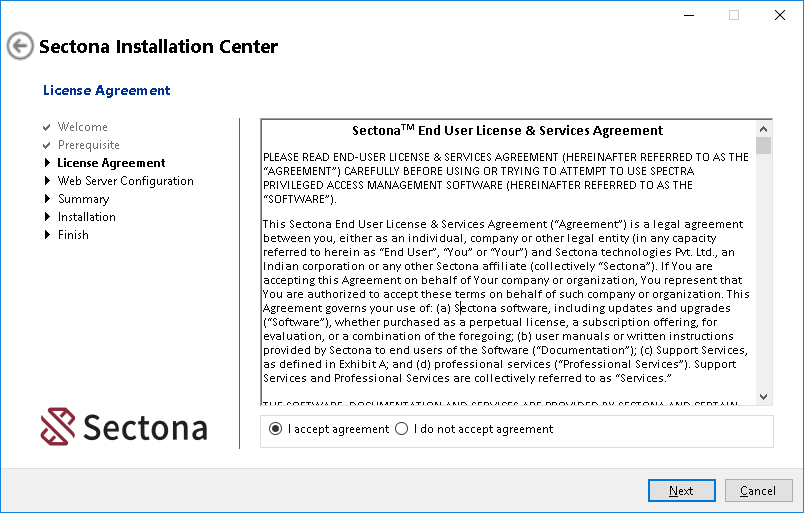
On the Web Server Configuration page, select the path to install the Satellite vault component (we recommend installing it on a secondary drive). Set the Site Name as 'SpectraSatelliteVault' and Port number (default:443). In the Certificate field, you can either Select a certificate from the available drop-down list, create a new certificate by selecting 'Create New' or you can choose a file from your local machine with the Choose button. Click on Next to continue.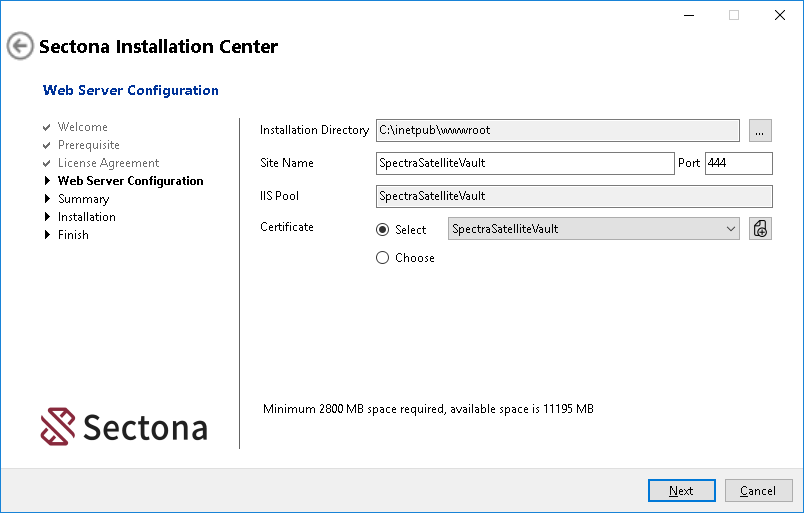
Read the configured Summary and click on Next to continue.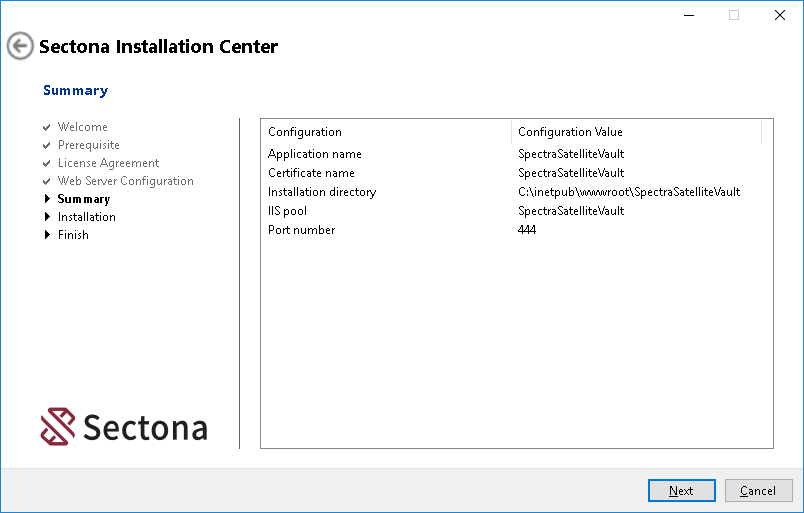
The installation process will begin.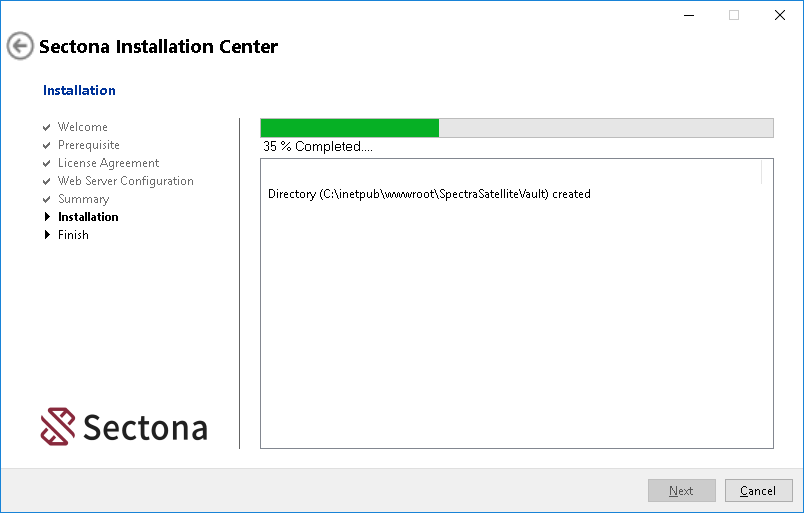
After successful installation, click on the Finish button to exit. You can also browse the web-page for Satellite Vault login by clicking on the link displayed on the screen. Click on the URL to get access to the Satellite Vault.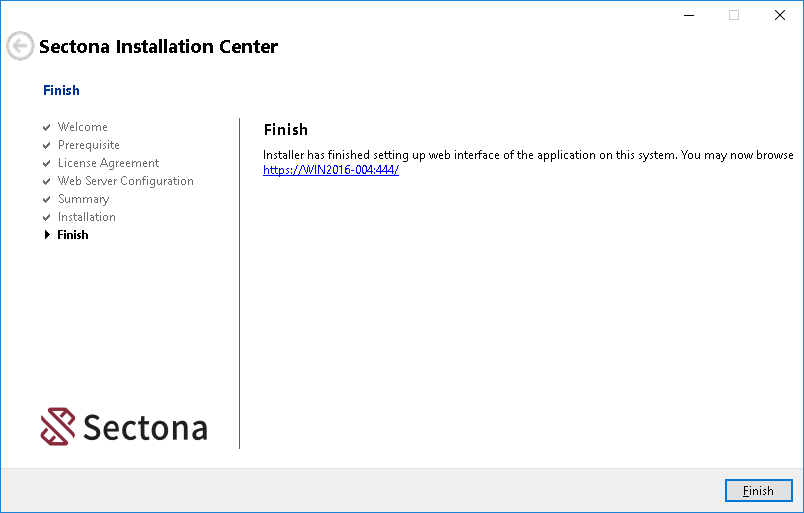
Next Steps
Once this component is successfully installed and published, you need to configure your primary vault instance to communicate with your Satellite Vault. Click on this link to learn about Satellite Vault configurations.