Sectona solution can be deployed with multiple vault options including external RDBMS or leveraging an internal RDBMS. This section describes how to install the system with an embedded vault option. If you plan on using an external RDBMS, skip to the Installing Sectona Web Access section.
Using an embedded vault is supported with an Enterprise License of the solution. This embedded vault installation must be completed before installing Sectona Web Access Component.
This section covers:
Before You Begin
-
Ensure that you are using a supported operating system. Visit the System Requirement section for more details.
-
Validate your license purchase information. This section will work for enterprise and evaluation licenses only.
-
Install the Visual C++.
Important Things to Remember
-
Vault uses custom port 5389 to communicate with the Sectona Web Access component. If you are installing vault and web access on a different server, ensure port 5389 can communicate with the web access server.
-
In case you want to change port settings, please get in touch with Sectona Support.
-
Sectona Web Access communicates with Sectona Vault and this is applicable in both Embedded and External.
Installation of Embedded Sectona Vault Storage Host component
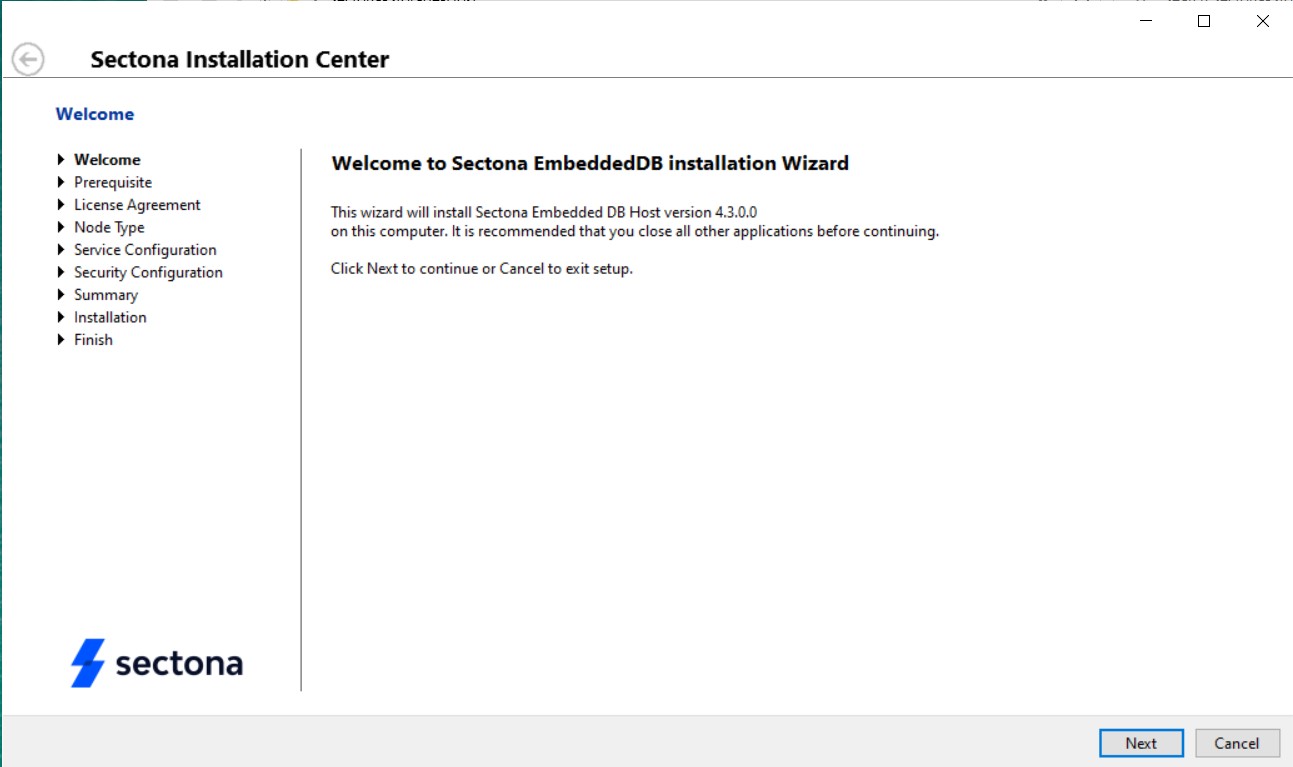
Download the Sectona Password Vault Installer. You will receive a copy of installation from Professional Services team and download from the download portal. Execute the installer. Ensure to launch the Sectona Vault Storage Host setup with Windows Administrator Privileges. Click on Next to continue.
-
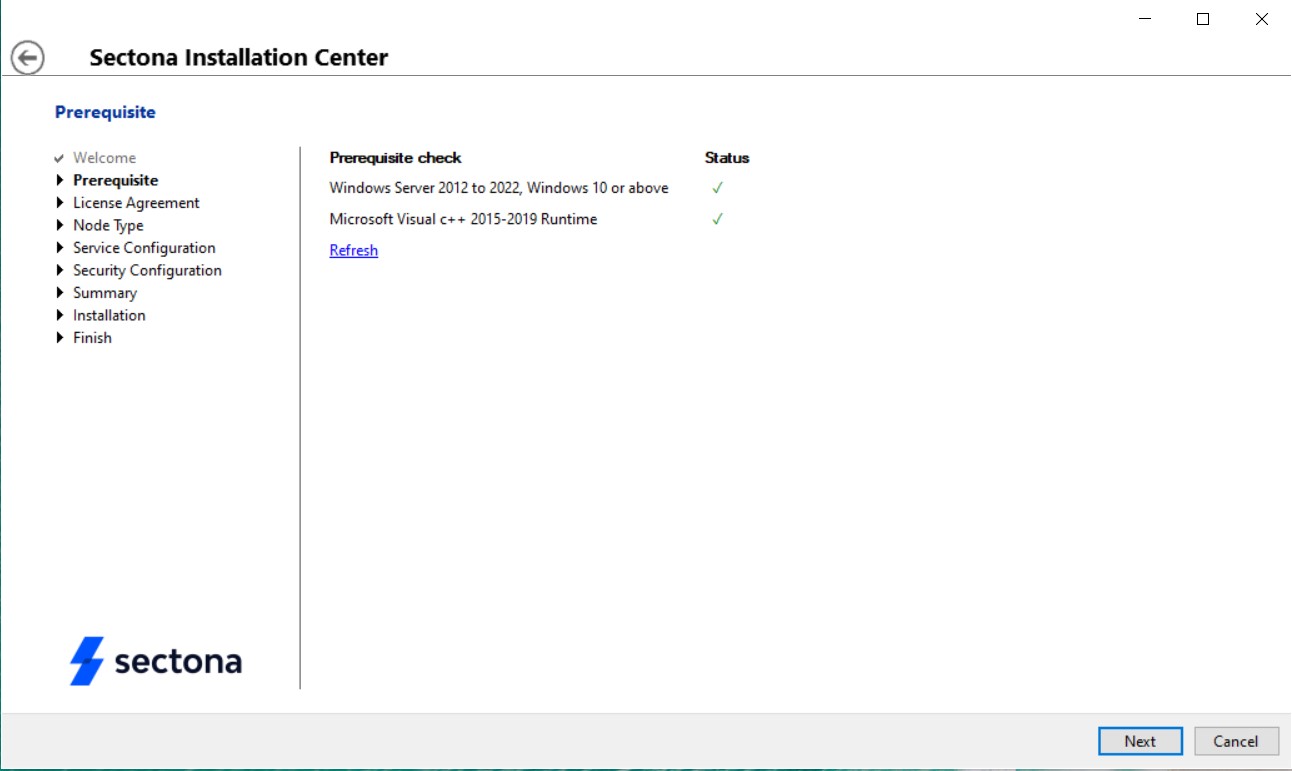
Validate your prerequisites and click on Next to continue.
-
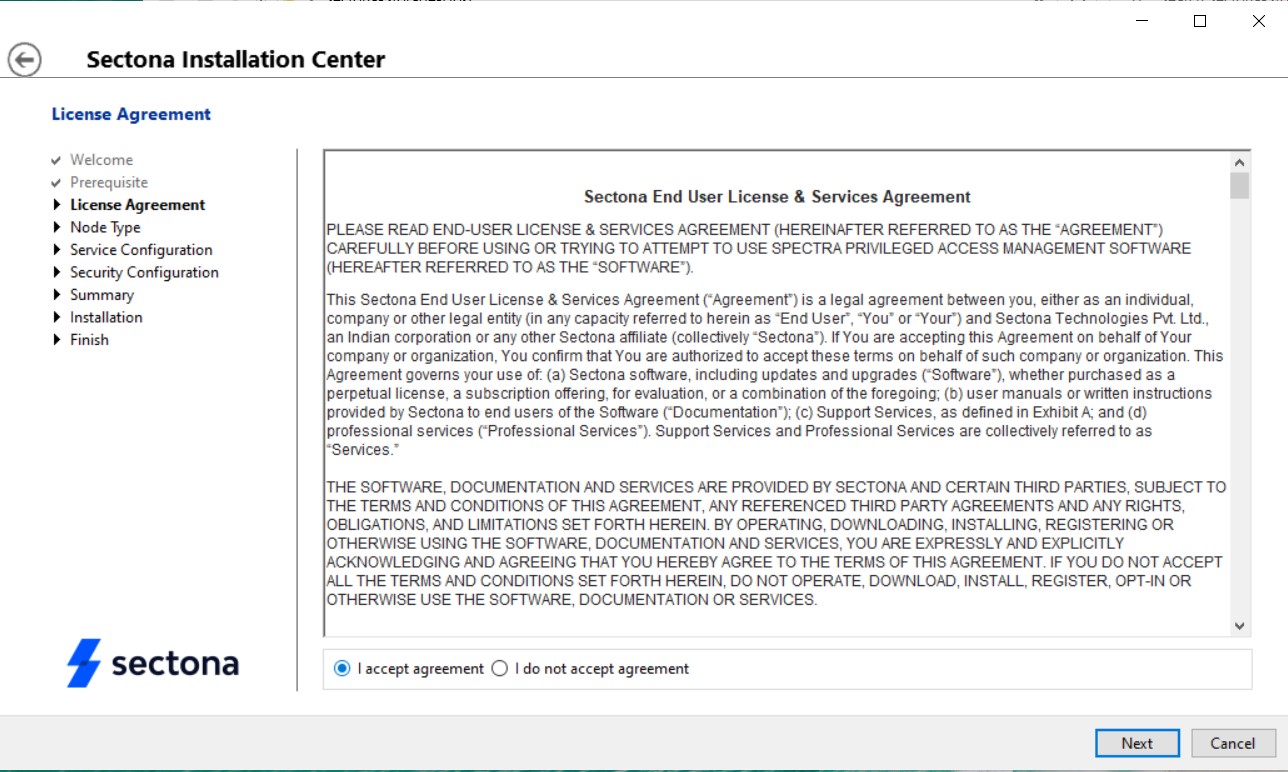
Review the License Agreement. Select the ‘I accept agreement’ option. Click on Next to continue.
-
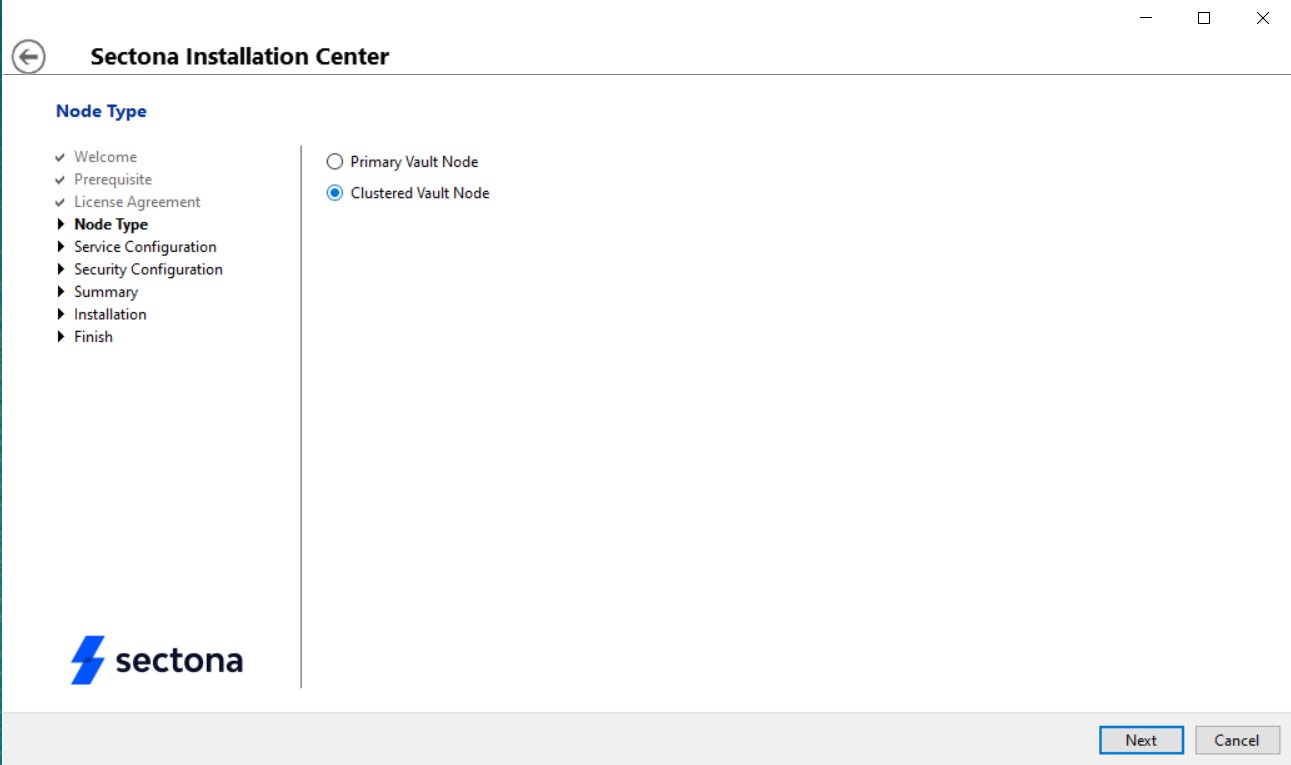
While deploying for the first time, select Primary Node or select the server type as primary or cluster as per your environment. Click on Next.
-
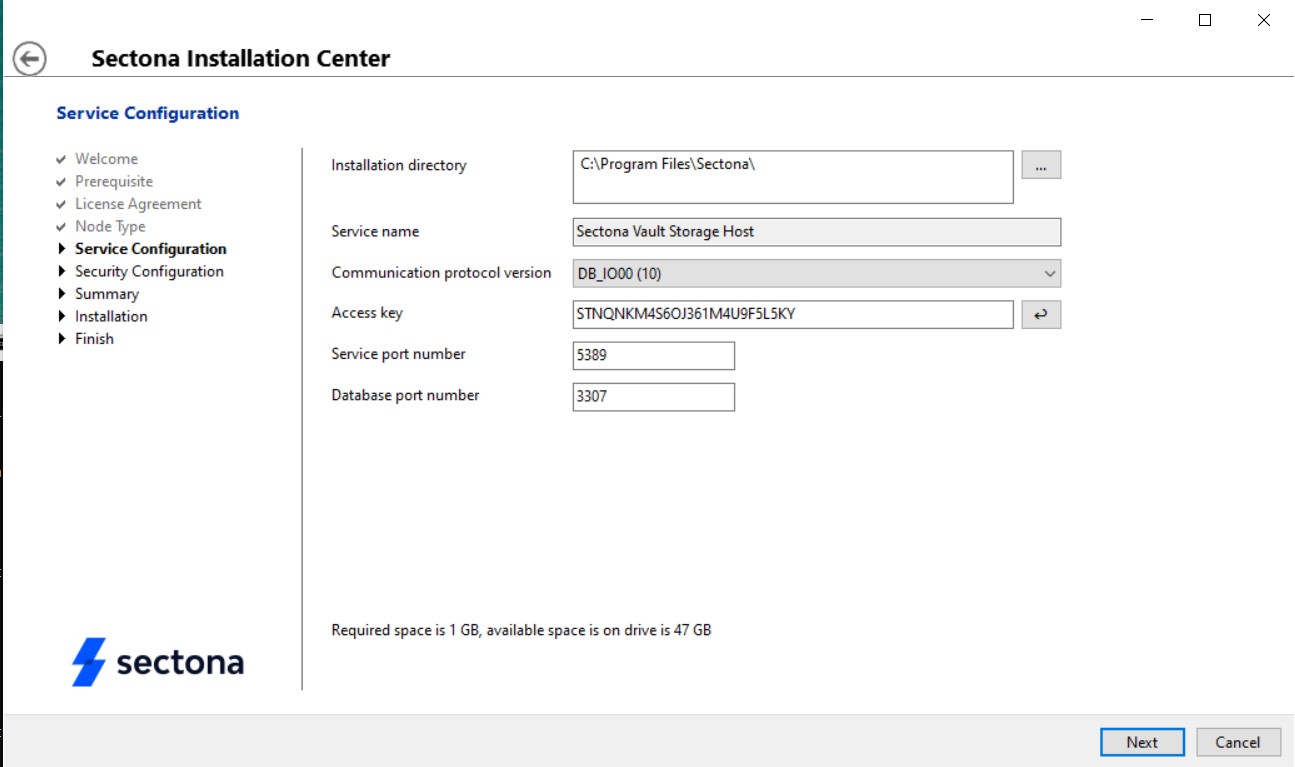
For Primary server type, check for the installation path, communication protocol, access key and port. Default communication Protocol is 10 (DB_IO00) for Vault, ensure to select same for Web Access. Copy the Access Key and note the Communication Protocol version for Web access installation. Click on Next.
-
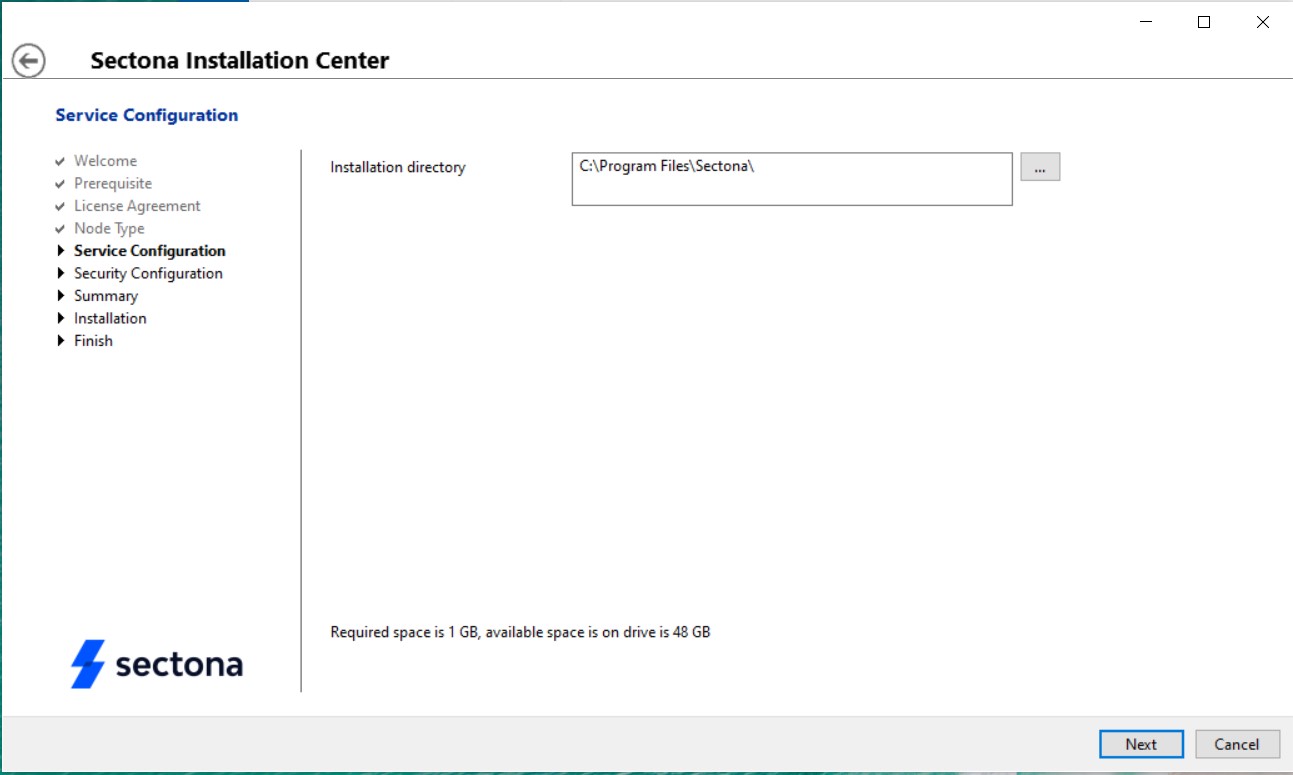
For server type as Cluster, check for the installation path. Click on Next. In case of HA deployment in Windows Cluster environment, the same installation path has to be selected on clustered node, this can be achieved by transferring Cluster Drive to Secondary node and then running Vault installer to select the same path.
-
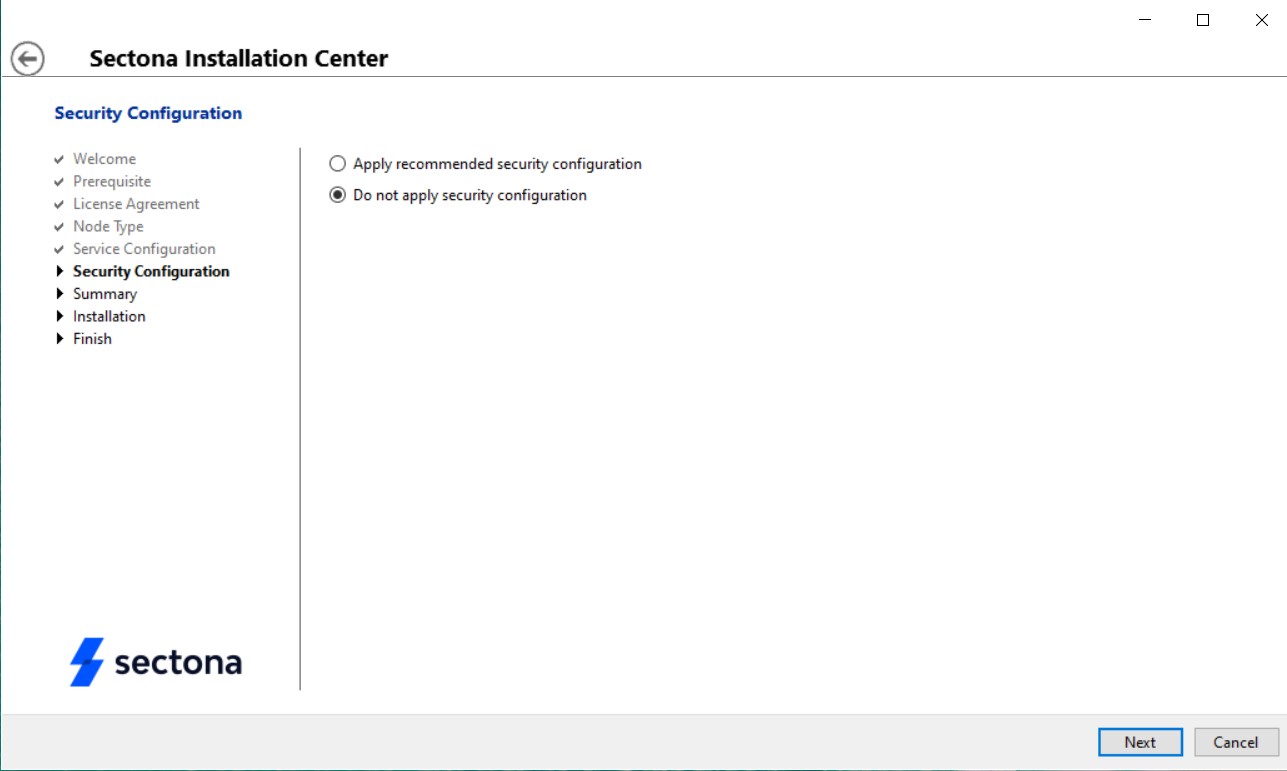
The system provides an automated method of hardening your application server based on minimum security guidelines. You can install the application without these steps. Click on Next to continue.
-
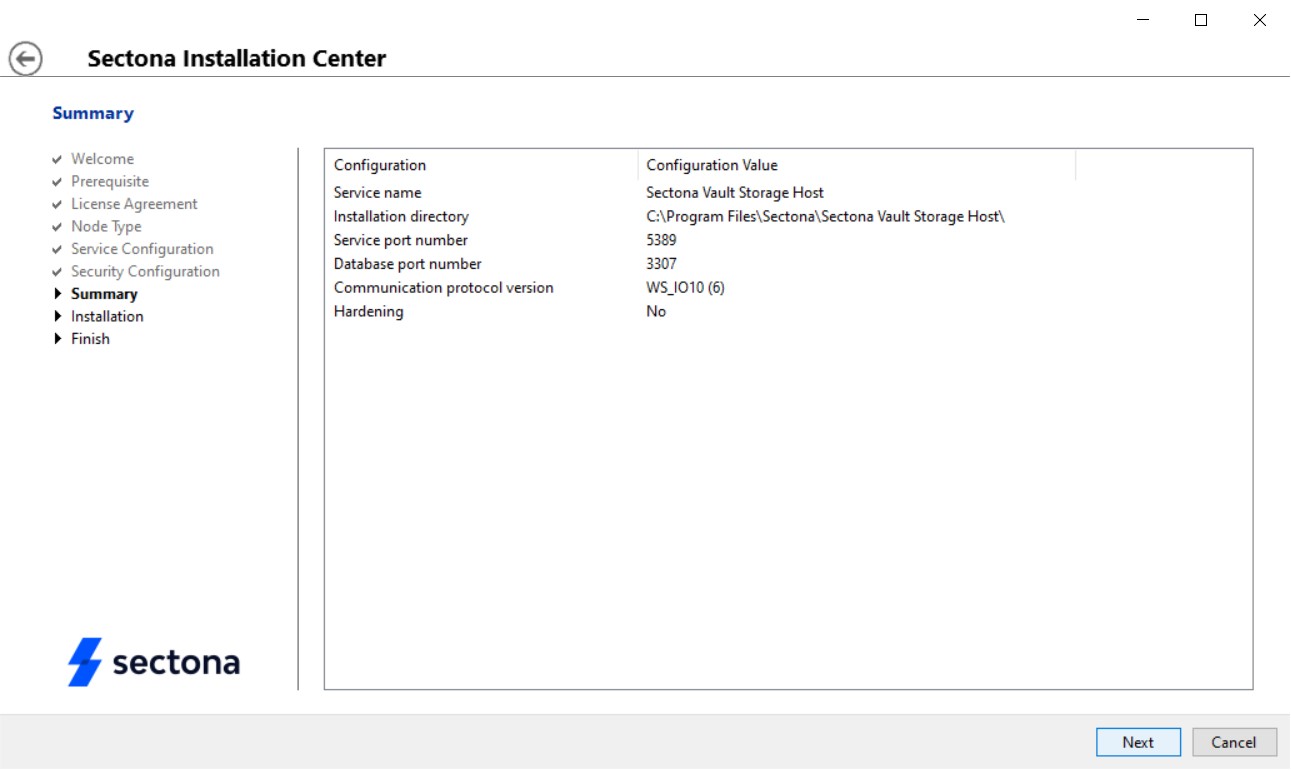
Validate the setup. Click on Next to start the installation process.
-
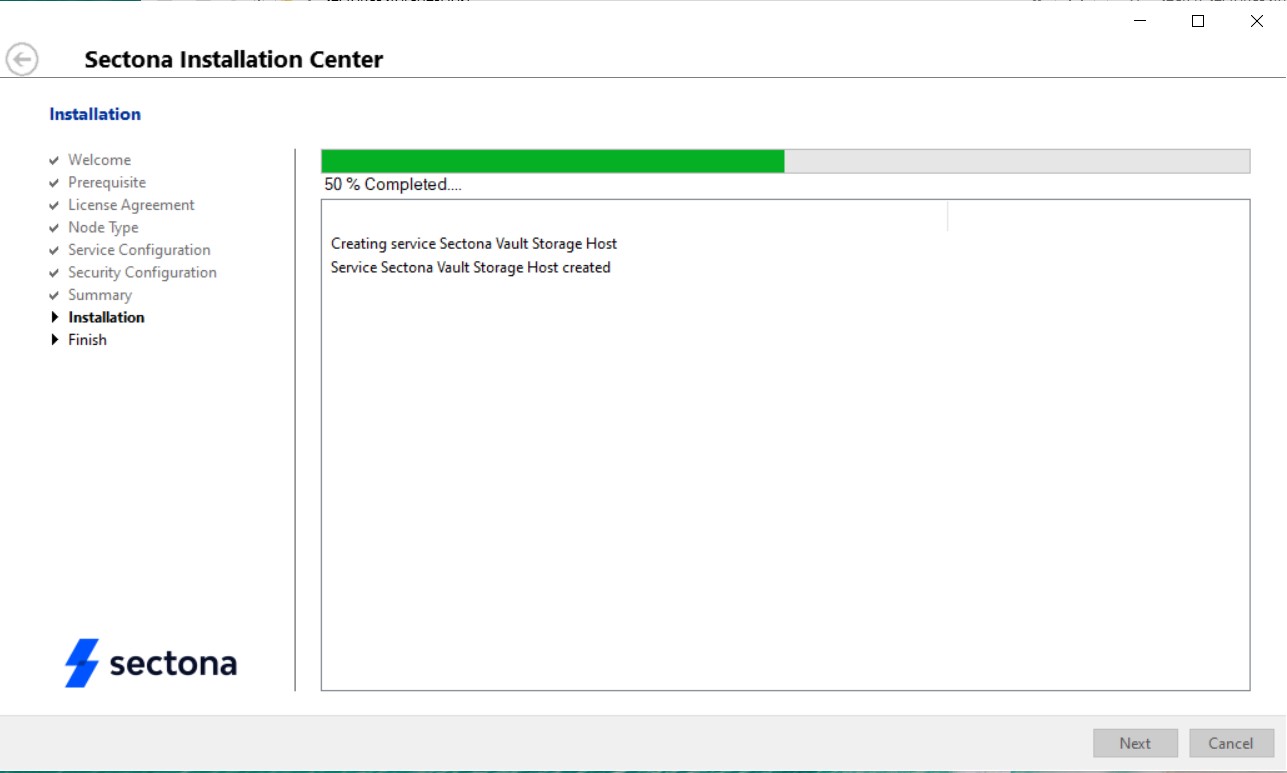
The installation process will begin.
-
After a successful installation, click on the Finish button to complete the installation.
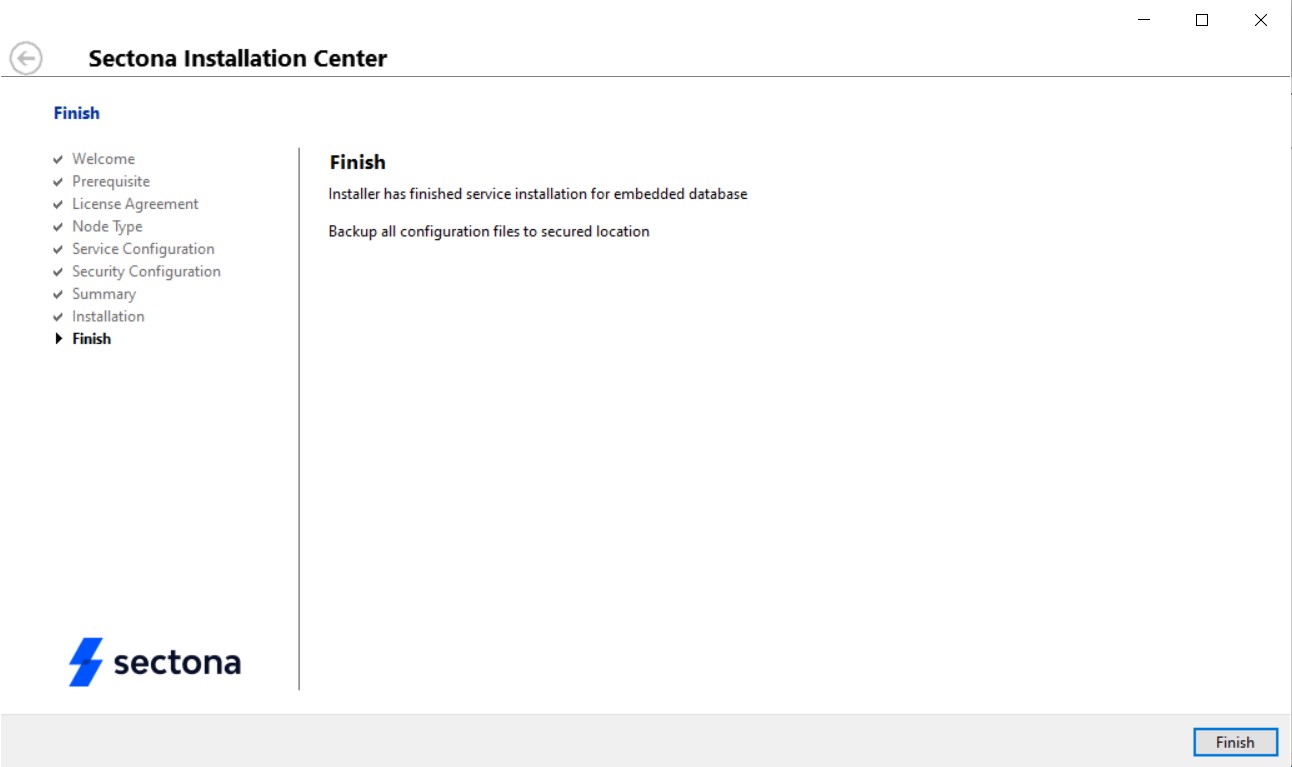
You will need to navigate to the vault configuration file and retrieve a unique Access Key and Communication Protocol Version ID of this installation. This is not your encryption key and user by web access can communicate with the vault for initiating the installation. Navigate to file located at %installation directory%\Sectona Vault Storage Host\SectonaVaultStorage\VaultStorage.cnfg.
Open the file in any text processor like notepad and copy the access key and communication protocol located in the file. You will need to use this information while installing Sectona Web Access.
Installation of Sectona vault with Microsoft SQL Server
-
Install Microsoft SQL Server. Refer to compatible databases here.
-
Once you install Microsoft SQL Server, create a database (Sectonadb), create a user named as 'Sectonadbadmin' and also make sure the user is devoid of parameters such as 'Enforce password policy', 'Enforce password expiration' and 'User must change password at next login'. The MS SQL user should have 'db_owner' role membership for the database created.
-
Now initiate installation from Web Access component.
Troubleshooting
Some anti-virus or other Internet security tools may interfere with the installation process and prevent it from completing successfully. If you experience or anticipate experiencing such an issue with your anti-virus/Internet security tool, disable this tool first before proceeding with the installation.
